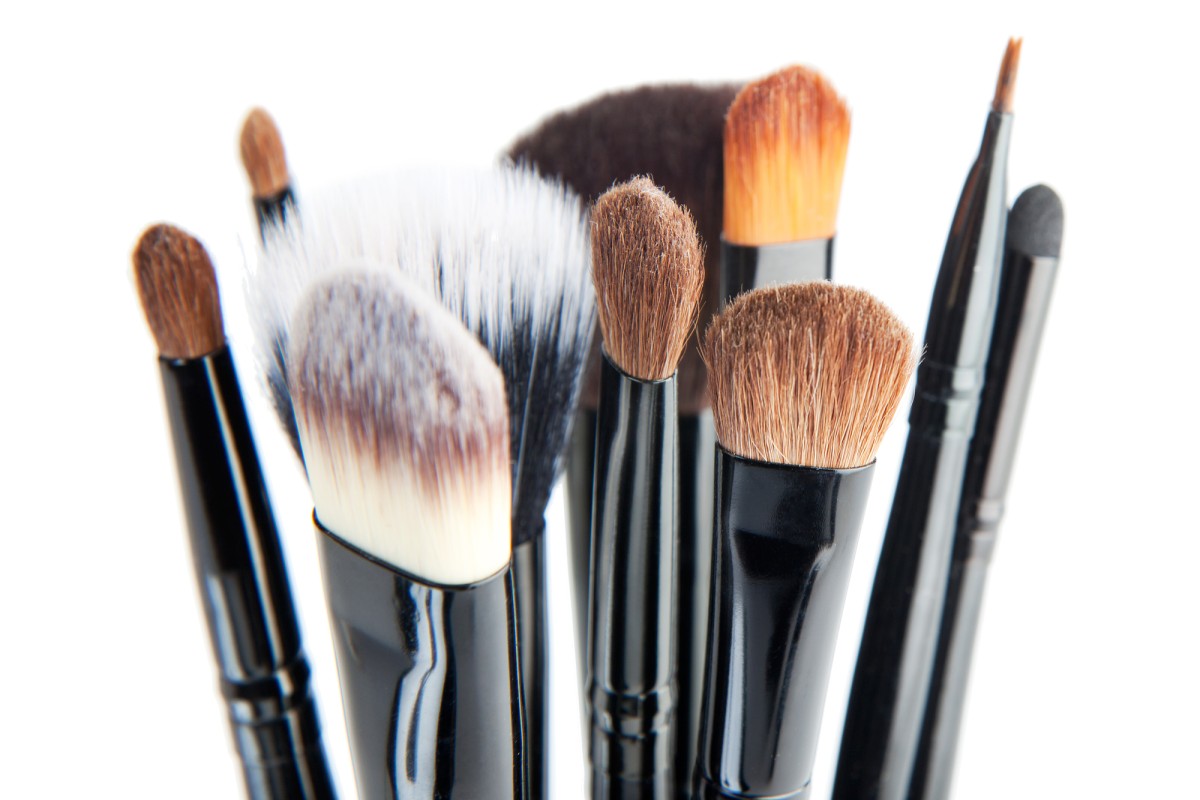
You don't need a million make-up brushes in your kit, especially if you're just starting to use cosmetics - just the essentials will do.

Here are six make-up brushes that will go a long way, and are really all you need to create any look. Also, a guide on how to look for, use, and care for your brushes
1 Big Powder Brush
The key to a natural-looking finish is to apply pressed or loose powder with a big, fluffy brush. Dip your brush in the product, or swirl it if it's pressed, tap off the excess and pat it all over your face before buffing it out in circular motions. Look for a brush with dense but soft bristles.
2 Blush Brush
Blush can always be built up, but it's really hard to tone it down once you've gone overboard. So look for a brush with a rounded head that's roughly the size of the apples of your cheeks. Unlike angled blush brushes, these won't concentrate colour in one spot, which can be hard to blend out. This shape is also easier for buffing colour out, giving cheeks a natural flush.
3 Eyeshadow Brush
A small, rounded brush with dense bristles is great for packing on eyeshadow for an intense look. Asian eyes in particular are often hooded or single-lidded, and a strong pop of colour can really brighten the eye. Swipe your brush in the product, and pat it onto your lids. Use the narrower side of the brush to add a darker shade to the outer corners of your eye for a gradient effect that makes eyes look bigger.
4 Blending Brush
You never want to end up with harsh lines or blocks of colour when applying make-up, so always blend, blend, blend! Keep a small, clean, fluffy blending brush nearby to buff out the edges of your eyeshadow - use small circular motions.
A blending brush is also great for dusting setting powder under your eyes to keep your make-up in place, or for applying a highlight to your cheekbones.
5 Angled and Eyebrow Brush
Multi-purpose products are great. An angled brush can be used to apply a thin, precise line using liquid, gel or powder eyeliner; you can even dampen the brush with a hydrating spray and use any eyeshadow as a liner, or use it to smudge your liner for a grungier look.
An eyebrow brush means tidy brows, which can make you look more polished. Smooth just a tiny bit of Vaseline over your eyebrows, and run the brow brush through it.
6 Retractable Angled Kabuki Brush
An angled kabuki brush is a great tool for applying liquid or creamy foundation. Use your fingers to dot your foundation on your face: two dots above your brows, one dot each on your cheeks, nose and chin. Then use the kabuki brush to "stipple", or dot the product over your face for even coverage.
The angled brush can get into small places like the edges of your nose or around the curves of your eye, and the dense bristles create a smooth finish. It is also great for touch-ups, even with pressed powder products. Just swirl it in your foundation, and lightly press it all over your face instead of buffing it in for a natural finish that won't look cakey.
Brush up on your knowledge
- Natural fibres are softer and more durable than synthetic. They are best for powder products because natural bristles are great for buffing and blending. Because these brushes are made with actual animal hair, try to look for fair-trade and cruelty-free products.
- Synthetic fibres work better with liquid or cream products because they won't soak up product like natural fibres do, which means you pick up more product than you need. Often made from nylon, synthetic bristles are closely packed, making them great for precise application.
- Don't spend your month's allowance on one brush: just learn how to look for a good one. When testing a brush, rest it bristles-down on the back of your hand. Don't grab hold of it, just loosely support it in an upright position. The bristles of a good brush should withstand the weight of the handle. They should have a little give, though: the fibres shouldn't be too stiff but shouldn't bend completely either.
- Keep your brushes in tip-top shape by lightly cleaning them with a damp cloth every week, and giving them a deep clean once a month. Don't waste money on pricy brush cleaners: stand by the sink with a small bowl of olive oil and swirl your brush in it, before washing the bristles gently and thoroughly with washing-up liquid. The oil helps to break down product, and also conditions the bristles so the detergent doesn't dry them out. Always wash your brushes bristles down, so that water, oil and detergent don't get into the ferrule (where bristles meet the handle) - that can loosen the glue inside and ruin your brush.
