What are press-on nails and how do you put them on? Our step-by-step guide to flawless application, from prepping nail beds and attaching them with glue or adhesive tabs, to customisation and removal
- Press-on nails are the perfect solution to achieve stunning manicures without ever leaving the house – and they’re easier to remove than gel nails and last longer than nail stickers
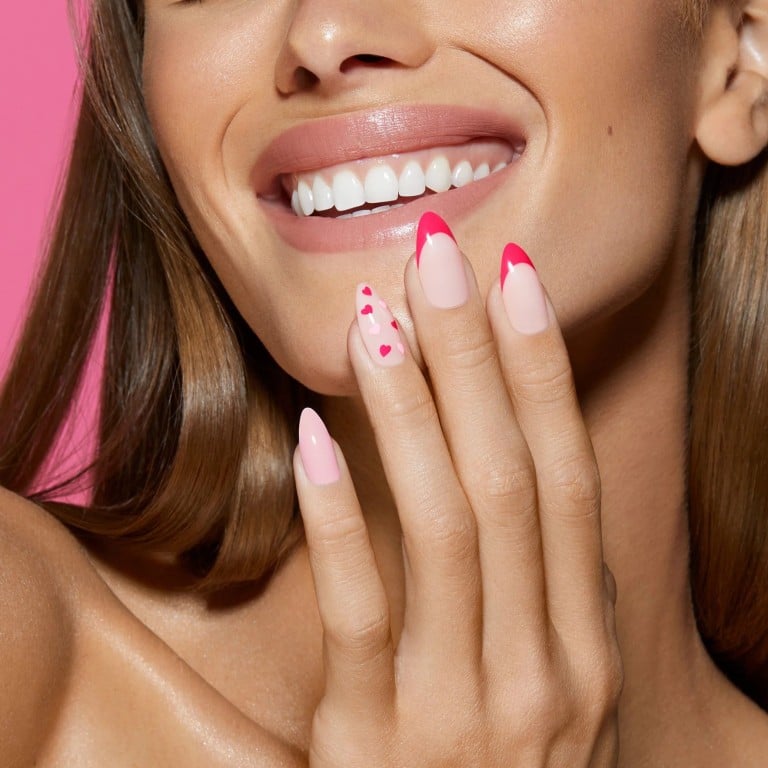
- We’ve outlined 3 steps to apply press-on nails diligently so that they last longer and look better; meanwhile, it’s crucial to choose the right size for the tips, in addition to the style and shape
As DIY beauty solutions become more commonplace, press-on nails allow you to achieve stunning manicures without leaving your home.

While gel nail kits and nail stickers have their place, press-ons offer an alluring alternative, particularly if you’re seeking a professional finish without the hassle of gel removal or the risk of chipping.
What are press-on nails?


Even if you’re not a beauty expert, press-on nails are designed to be user-friendly. The kits often include the nails themselves along with a cuticle pusher, file, nail glue or adhesive tabs, as well as an array of nails in various sizes to ensure you find the perfect fit for your nails.
Before you start …

Selecting the right press-on nail involves considering not only size but also style, shape and length. Professional manicurist and international nail educator Fran Méndez explains that one the most common mistakes when applying press-ons is not measuring correctly.
“If the tip you chose is too big, there’s a chance water and dirt are going to be able to slide in between your nail and the tip, and if the tip is too small, your natural nail will show underneath,” she says.
A step-by-step guide to flawless application
