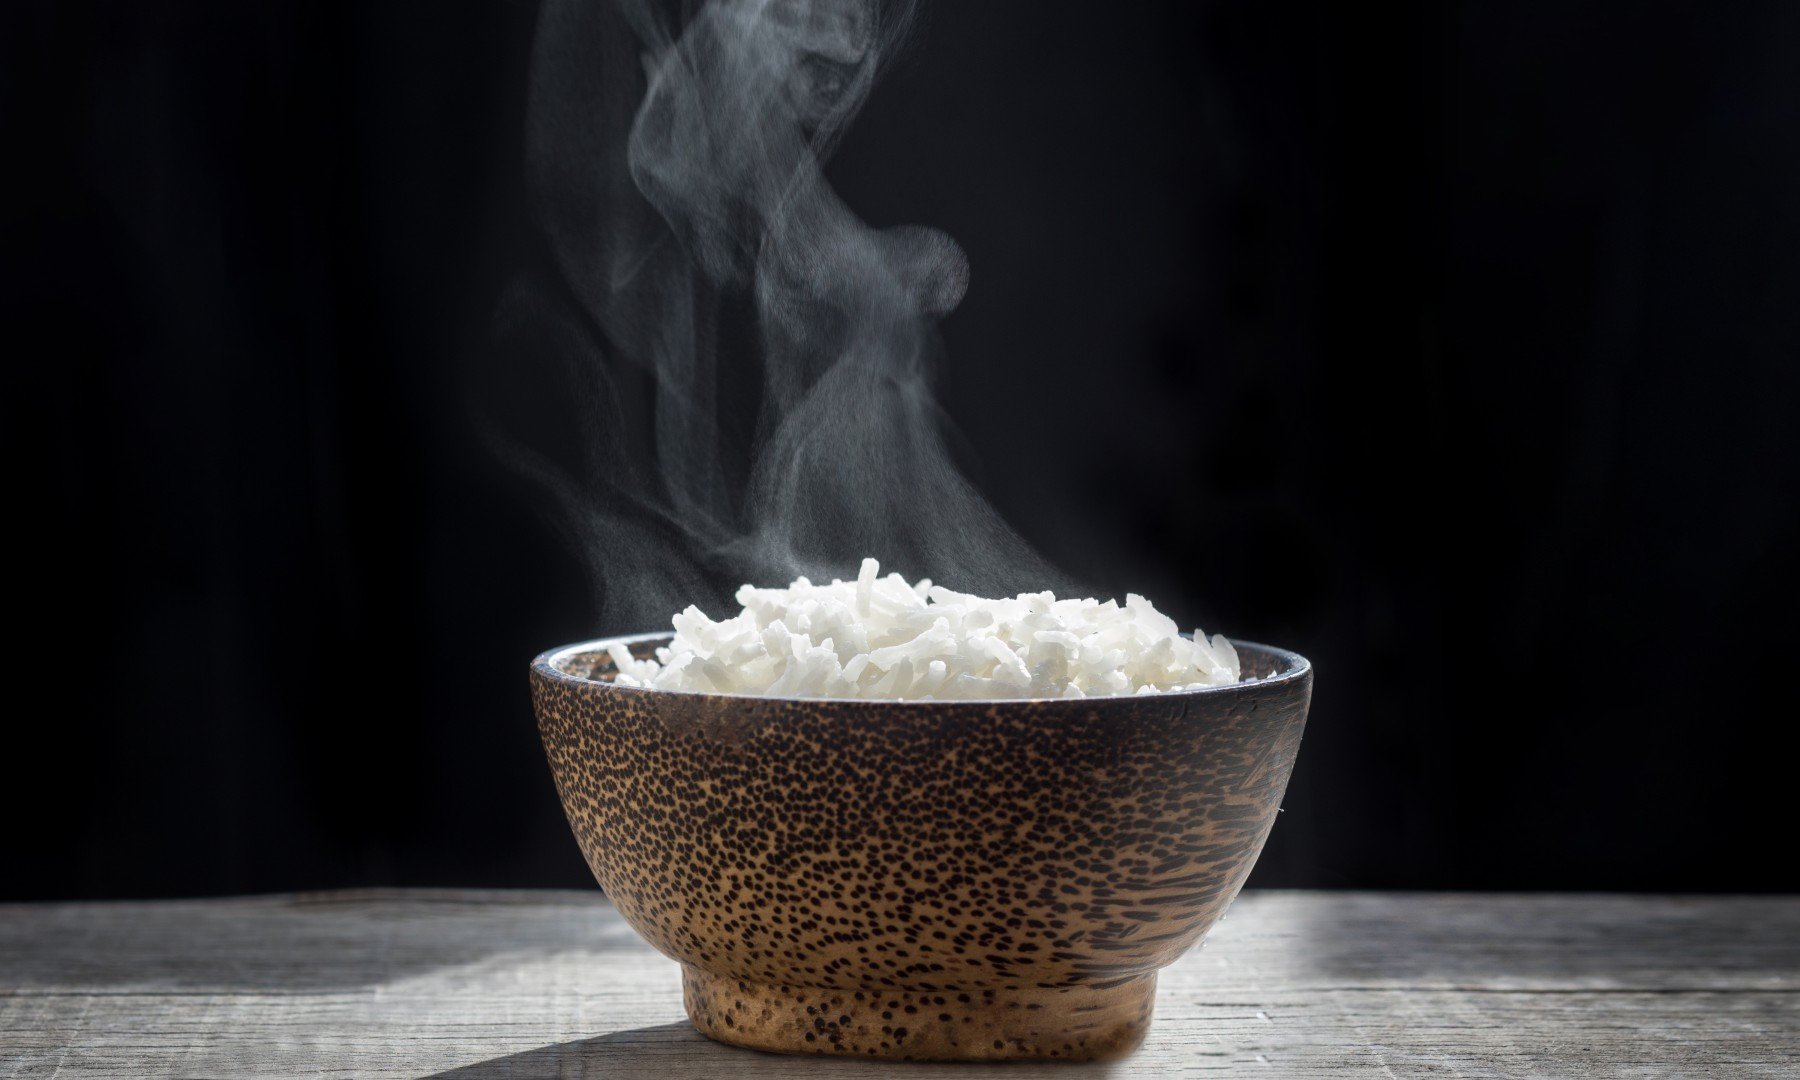
Cooking rice should be easy. Humans have been eating it for millennia; our ancestors first started cultivating the seeds of wild grass an estimated 12,000 years ago, and today, it’s a staple for billions of people around the world.
But unless you were raised watching someone prepare it for dinner every night, and who taught you their way of measuring the right amount of water (with Chinese households, this usually involves using the first joint of your forefinger as a guide), the thought of cooking your first pot of rice can be intimidating.
While the technique is basically the same for what many people call steamed rice (although actually, it’s cooked in a pot, not in a steamer), a one-size-fits-all recipe is impossible because there are too many factors to take into consideration. Different types of rice need different amounts of water and longer or shorter cooking times.
Rice that’s been harvested, milled, packaged and cooked within a year is going to need less water than rice that’s been in a container in your pantry for goodness knows how long. Brown rice, with its husk, bran and germ intact, takes longer to cook than white rice. Once you find the rice you like, tweak the basic technique as necessary.
I experimented with various ways of cooking rice and getting the correct amount of moisture, from the traditional finger-as-a-guide technique to weighing the rice and water in order to get the right proportion. The first leaves too much room for interpretation, while the latter is probably too complicated for everyday use. An electric rice cooker is easiest, but not everyone has one, so I also tested using a pot with a tight-fitting lid on the stovetop. My favourite is enamelled cast iron (which includes popular brands such as Le Creuset or Staub), but the pot can be regular metal. Don’t use a pot that’s too flimsy, though, or the rice might burn. And try to use a pot that is the proportionate size for the amount of rice.
Using a rice cooker
- Use the scoop that comes with the cooker to measure your desired amount of rice
- Put the rice in the bowl (the insert) that comes with the cooker and rinse it with water to get rid of the excess starch. Repeat 2-3 times, until the water is almost clear - you don’t want the water crystal-clear or you’ll wash away all the starch.
- Add water to come up to the indicator line in the insert.
- Put the insert into the cooker, close the lid and press the button.
The result? A consistent product – as long as you’re using the right type of grain for the rice cooker. Some of the more expensive cookers have various settings for different types of rice.
Using a pot, the stovetop and volume measurements
I’ve seen recipes that call for equal measures of rice and water, and others that call for twice as much water. I like rice that has firm, separate grains, so I use the proportion of 1:1.2 rice to water. If you like the rice to be more moist, use a 1: 2 ratio instead.
- Put a measure of rice (say, two cups) into a bowl. Add water to cover by about 2.5cm (1 inch), stir well, then pour off the water. Repeat the washing two or three more times, or until the water is still slightly cloudy – it should not be crystal clear or you’ll wash away all of the starch.
- Pour the rice and water through a fine sieve, to remove as much water as possible, then put the rice into a pot. If you used two cups of rice, use 2.2 cups of water, or more depending on how moist you like your rice. Shake the pan to settle the rice in an even layer.
- Let the rice soak for 30 minutes.
- Place the lid on the pan and put over a high flame. Bring to the boil, then turn the heat to low and simmer for 15 minutes. Turn off the flame.
- Remove the lid and quickly fluff up the rice grains with the rice paddle (this step is optional, but I like to do it). Immediately put the lid back on the pot and leave to rest for 10 minutes before serving.
The best way to store cooked rice
Take care when storing cooked rice. There’s a very slim chance of raw rice grains containing Bacillus cereus spores. This bacteria is dormant until the rice is cooked; but once it is activated, it multiplies when it’s in the “danger zone” (four degrees to 60 degrees Celsius/39 to 140 degrees Fahrenheit). Heating the rice again won’t kill the spores.
If you’re using the “warm” function on an electric rice cooker, it’s hot enough that the bacteria won’t multiply, but once you take the rice out of the cooker (or when you turn off the flame on stove top cooked rice) there’s a chance that the bacteria – if it is present – will multiply. Whatever rice you do not eat immediately should be refrigerated quickly.
